Stash Pillows!

4 pillows on a couch

What better way to enjoy heavier handwovens than as throw pillows?! These two were added to my spaces this winter. Here are their stories.

A fiber artist’s couch pillow collection

The Irish Wool Seat Cushion

A long time ago (probably 2018, before Covid anyway), my daughter took a trip to Ireland. Knowing I love fiber, she brought me some lovely Irish wool yarn as a gift. It was heavier and coarser than yarns I usually work with, so it entered my stash pile to wait for inspiration.

Fast forward to the fall of 2020 when my local weavers’ guild announced a challenge to make something with something from our stash. To facilitate the process, the first meeting of the year was devoted to brainstorming ideas for our projects and inspiring each other. Everyone had uploaded photos of their yarn to a common folder so we could look at them during a Guild meeting on Zoom. We each provided as much information as we could on our yarns, and then opened it up to ideas from the floor.

So many inspiring ideas came out of this meeting! Many were the usual things like a scarves and towels, but people also suggest creative weave structures and finishing techniques that would be appropriate for the specific yarns. I remember being very impressed by our conglomerate creativity!

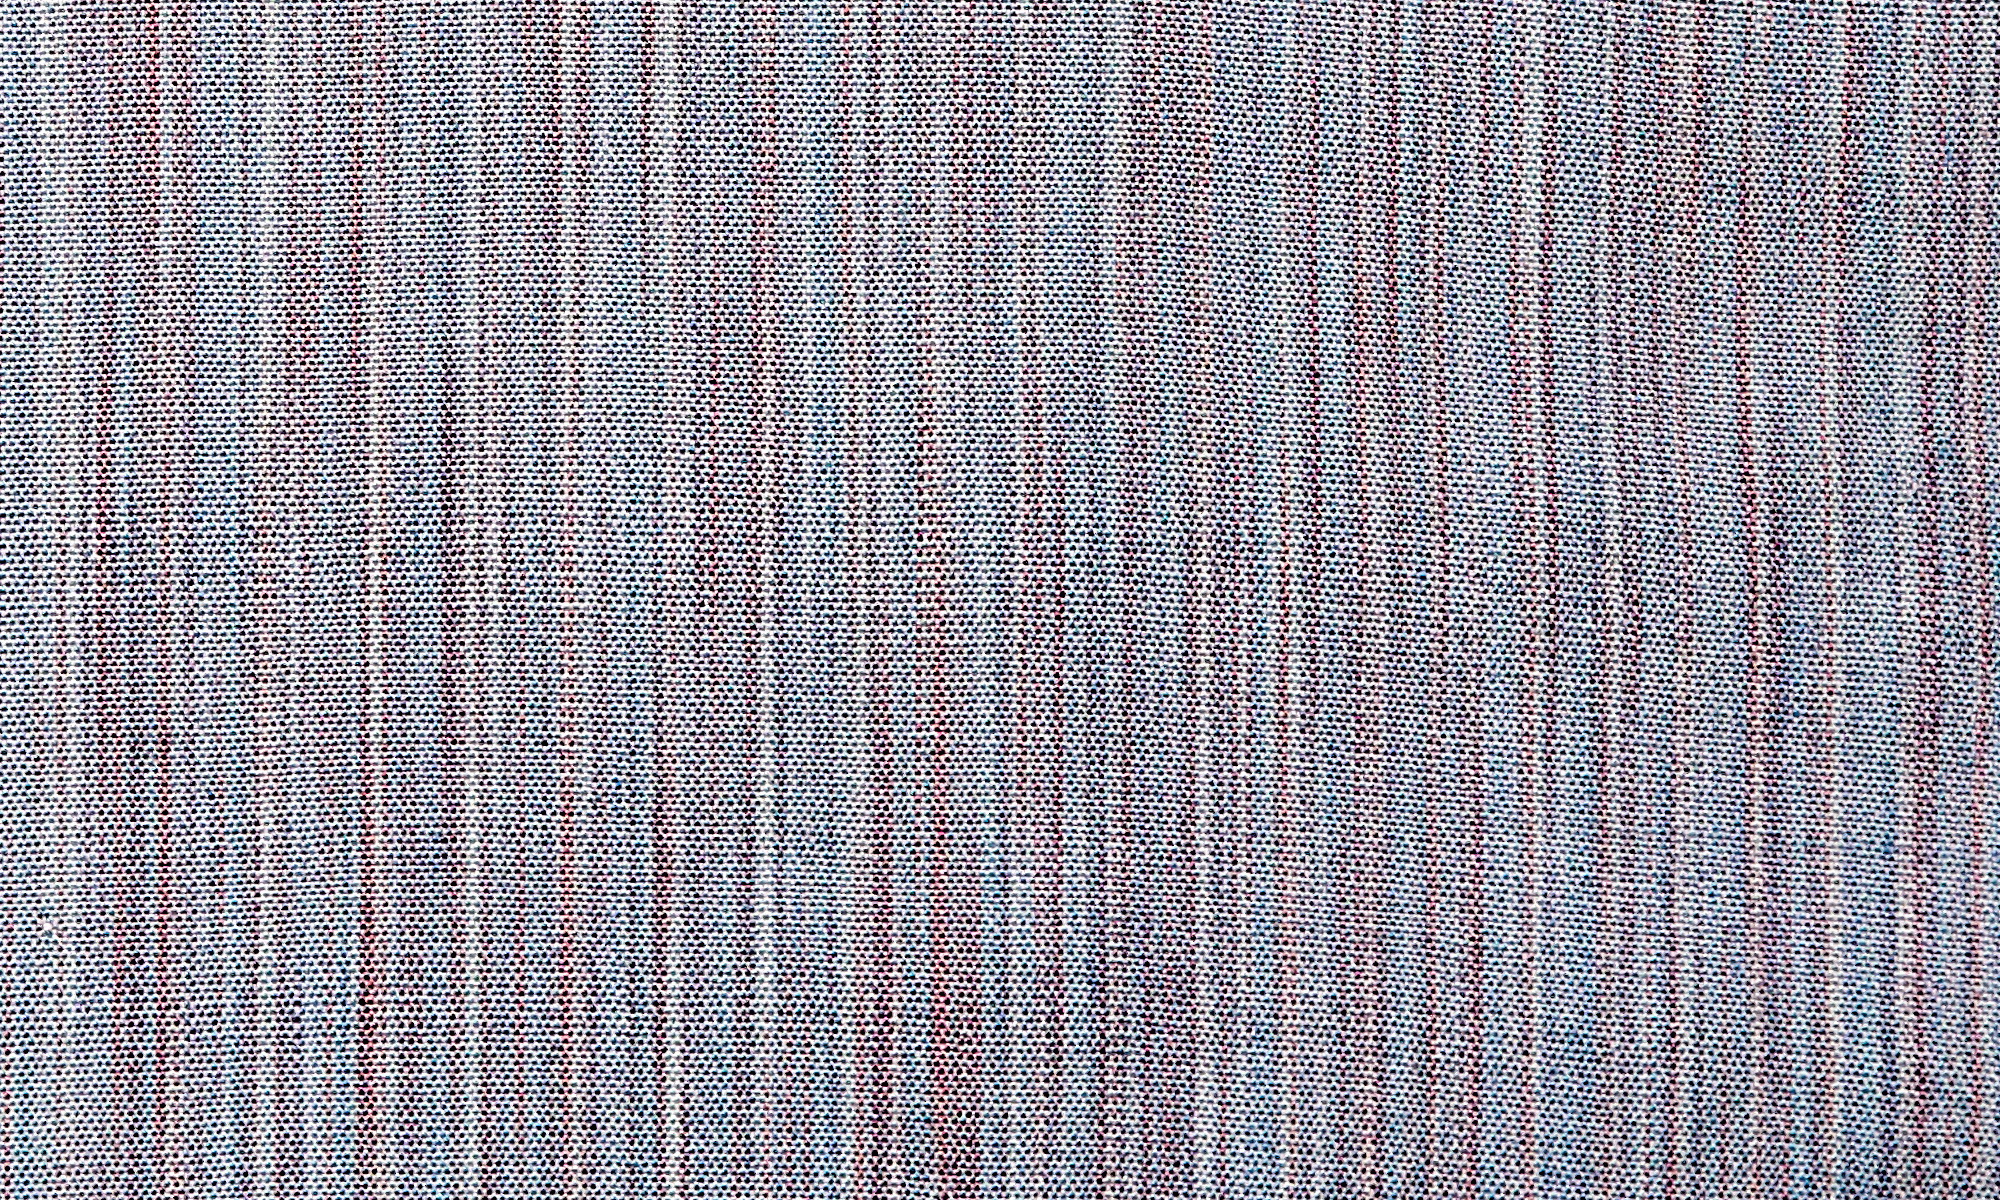
For my yarn, among the suggestions was a seat cushion. I had never thought of that – what an idea! So that’s what I ran with. I found an interesting 8-shaft pattern on handweaving.net that I thought would be fun to weave on my 8S LeClerc floor loom. I found another contrasting but similar weight yarn in my stash (double points there!) to use in the warp. Having so little of this precious Irish yarn though, I needed to sample. The most important information would come after washing and fulling the sample. So I simplified the structure and wove a small sample on a 4-shaft loom. The shrinkage was much less than I had anticipated, which was really good news. My 775 yards of pink wool would be enough for the weft for 2 pillows! I used every last yard of the Irish wool and the darker burgundy wool warp.

8-shaft braided twill with pink Irish wool weft and burgundy stash yarn warp

During the spring of 2021, I finished weaving the 8S fabric and fulled it in time for our annual end-of-year supper (alas not “pot luck” this year), which we gleefully held outdoors in person! The weather was threatening, but we were eager to see each other and share our projects, and the outdoor gathering was a success.

Then the fabric sat for awhile longer, waiting for another burst of inspiration on how to make the seat cushion. The original plan had been complex, comprising a trapezoidal shape with 1-2″ side panels and high density cushion foam inside. But that was intimidating, so it was put off. Then I ran across a blog post on Gist Yarn’s website on how to make an envelope pillow using handwoven fabric. Looking around my studio, I saw no fewer than 3 pillow forms sitting unused. So the plan was hatched.

Office seat cushion with Irish wool

With the size defined, the pillows came together with a pretty multi-colored cording around the edges made from mercerized cotton (also from my stash!) One was stuffed with a feather pillow and is on my chair now. The other became an 18″ couch pillow that I’m thinking of giving to my daughter, who was kind enough to purchase the yarn in the first place. What goes around, comes around.

Twisted cotton cording

Honeycomb for my Honey

In 2021, my husband and I became beekeepers. We love our bees! (The queen is named “Bee 39.” Hehe!) It was my idea really, but I was more than pleasantly surprised when Dan took the lead with them. He spent hours watching YouTube videos and reading books and just going out to the garden to observe our industrious hive of black and yellow honeybees. So, most of his Christmas gifts this year had a bee theme. (Men are so hard to shop for. It pleases me to no end when I can give him something he’s not expecting and he loves it!)

True confessions: We usually eat dinner sitting on the couch watching Jeopardy! Hubby Dan props his plate conveniently on an old couch pillow that is dedicated to this function. However, dedicated or not, the old one was getting pretty ratty looking. He didn’t know it, but he needed a new “dining pillow.”

Dan’s new honeycomb dining pillow

Last fall I was playing with crackle. One of the variations was to treadle it as honeycomb. As I looked at the structure, the wheels were turning, and I knew that his new dining pillow was going to be a honeycomb structure. Back to my stash I went. I found some pale yellow and taupe Tencel and some novelty yarn that would work perfectly for little honeycomb cells outlined in black. I decided to keep it very traditional, with 8-end/8-pick cells for the entire width, as evenly structured as the comb in our hive.

I jumped right in with a 20″ wide warp with enough length to sample some weft colors and wash it to make sure that the cells would behave as expected. I’m glad I did that because I was debating about single or double stranding the black outline yarn. Although I was leaning toward the double, the single ply looked best. In the end, that was a really good choice, as I would have run out of the doubled yarn.

Honeycomb Closeup – Ecru Tencel warp and weft with black cotton novelty yarn

The pillow wasn’t finished in time for Christmas, but that was OK, because the loom attachment he was building for me in his workshop wasn’t done either. We’re a good pair!

One of the holdups was waiting for a 6-treadle retrofit for my little Harrisville floor loom. After treadling the crackle sampler with a 4-treadle direct tie-up, I knew I didn’t want to weave a whole length of honeycomb fabric dancing on 1, 2 and 3 treadles through the whole thing. So it was worth the wait for the convenience. It wove up quickly, finishing off one cone of the Tencel and all the novelty yarn.

The fabric done and vigorously washed and dried, I decided to use the same envelope pillow cover structure for this one. I added a black and yellow twisted cording on the edges and stuffed it with the pillow form from Dan’s now-retired dining pillow. Since the honeycomb structure is so elastic, the cover did require a couple snaps on the back.

Envelope closer with added snaps; Taupe Tencel weft on the back side

If anyone walked into my studio today, they wouldn’t notice that I am down several cones of yarn and some pillow forms, but I know, and that makes me happy.

The Wool Bump Rugs

This is just a quick post to share some photos.

Earlier in the pandemic, I dyed a bunch of core spun wool bumps that had been waiting in a bin in my studio. Over the past few weeks, I wove it all into rugs on my Glimakra loom. The warp is 8/4 linen sett at 6 epi. One of the rugs (second photo) has some other corespun that I got from my friend Laura. It was processed at a different mill and was much denser than mine. As a result, the rug has stripes of texture. The last rug is made of cotton loopers. It’s the only one that’s truly washable.

Wool-bump rug with magenta zig zag 35.5″ x 40″
Textured striped wool bump rug, 36″ x 42″
Wool bump rug with rectangular theme – 35.5″ x 56″
Wool bump rug with magenta and green stripes 35.5″ x 50″
Red and green loopers rug 36″ x 26″

Wool Bump Dyeing Adventures

A few years ago, I acquired several dirty fleeces. After sorting, I sent the best of the fiber to Mad River Mill in Waitsfield, Vermont. Owner Susan Snider efficiently turned my fiber into “wool bumps”. She also allowed me to visit and take videos of the process, which I turned into a multimedia presentation. The presentation, documenting from fleece acquisition through finished rugs is available to guilds and other organizations. After that initial project, I still had 6 of the 13 wool bumps left. Last summer at NEWS, I purchased a sampler dye kit from ProChem, conveniently with 6 different colors. Now they come together.

First each bump was made into a huge skein to facilitate absorbing the dye even through all the fiber. Each skein is about 100 yds, wrapped as wide as my arms could reach, so about 10 feet around.

Then I soaked each skein individually in solution of Synthropol and water overnight. This prepares the fibers for accepting the dye.

After mixing the dyebath – the dissolved dye powder, Synthropol, salt, citric acid (or vinegar) and tap water – I added the skeined wool and started heating over my large propane burner in the garage.

brown wool simmering in the dyepot

It took up to an hour to bring it up to a boil, depending on the air temp each day. Then it had to simmer for about an hour. It required frequent rearranging of the fiber, so I stayed close and read a magazine or spun on my Turkish spindle between stirrings. I was reading PLY magazine, the summer 2019 issue on suspended spindles, which was what led to the Turkish spindle play.

Penny sitting in a chair watching the dye pot

If needed, I added a bit of vinegar to the dypot to help the fiber soak up the last of the dye. When the dye ran fairly clear, I let the fiber cool in the dyepot overnight. By morning, all the dyebaths were clear. I rinsed the skeins in slightly warm water in the bathtub. (Clara was fascinated by this part of the process!)

a black cat looking into a blue bathtub with brown yarn in it
Clara was very helpful, as always.

I squeezed out as much water as I could and then draped the skein on a clothes rack or the ladder. I tried to keep the process cycling, doing one dyepot a day. Saturday I did 2, so the whole process took 5 days.

One skein hanging (back by the ladder,) one drying, one in pre-soak, one in the dye pot, and two waiting in the wings

The colors from ProChem are Clay, Mahogany, Brown, Chestnut, Evergreen and Tan. I had 10g of each dye powder, which for the 19-23 oz of fiber in each bump equated to a medium to dark saturation. In some lights, the Clay and Tan have more of a green tint. I’m happy with all except the Mahogany. It turned out more of a magenta than the deep earthy color I had expected. Despite all the stirring and turning in the dyepot, I still got some darker spots on the fiber. It will add some interest to the final products.

The plan is to use the dyed corespun wool to weave some area rugs on my Glimakra countermarche loom. Each rug will be at least 3′ x 5′ with a linen rug warp. Here’s looking forward to the next step of this extended project!

Plimouth Plantation Blanket

A small black cat sitting on a big wool blanket. The blanket is off-white with 5 colored stripes on each end.

As a member of the Weavers’ Guild of Boston, I volunteered to make a blanket for one of the houses at Plimouth Plantation. The idea is to have blankets that resemble what would have been in the houses originally, but that are touchable to the visiting public. This was almost a year ago, and I had just gotten a new-to-me Glimakra counterbalance loom.

The pattern was simple, a 4-shaft 2/2 twill sett at 8 epi. It was to have 5 color stripes at each end of the blanket. The tricky part is that due to the width, it had to be woven in two panels and then sewn together. In order for the stripes to match up, the beat and measurements needed to be precisely the same on both panels.

Not wanting to test run my new loom on such an important project (and with someone else’s yarn,) I made a prototype with some Harrisville yarn I had purchased. The loom has a sectional warp beam, so I decided to try that out in the process. That had a steep learning curve, but worked out well in the end!

Prototype blanket

Using a 10 dent reed, I sleyed 1-1-1-1-0. (My instinct regarding the forgiveness of the Harrisville yarn proved correct, and after fulling, the reed pattern can’t be seen.) To ensure even panels, I marked the stripe pattern on two long lengths of adding machine tape and pinned it to the blanket panels as I wove. As soon as I started weaving, it was obvious that sett at 8 epi, a square beat of 8 ppi was unrealistic. With only the epi specified, the picks per inch were up to me, and the prototype ended up at about 15 ppi, which made a very thick blanket after fulling. True confession: I actually ran out of one of the stripe colors with about a half dozen picks remaining to weave. I called Harrisville and talked with a very nice person, who found the same color in stock and sent me the 30 or so yards I needed to complete the project. Thank you, kind person at Harrisville, for coming to the rescue! The slight variation in dye lot, which can’t even be seen in the photo, makes the actual blanket look just a little more authentic!

Once I was comfortable with the loom and had convinced myself that the design was viable, I was ready to weave the real thing. Again, I wound a sectional warp. This time, however, I relaxed my beat, pulling the beater just enough to set the weft into place, which resulted in 10 ppi. This was not as easy as beating it in with a good pull like on the prototype, but with some care and constant measuring, I was able to make 2 *exactly* equal panels. I used a temple on both blankets to keep the cloth from drawing in excessively.

First section of the woven blanket on my Glimakra loom

Once the weaving was done, it had to be seamed and bound. The seam was made by sewing a continuous end, alternately catching one weft on each side, consistent with the 2/2 twill pattern. The result looks like an additional warp end. The ends are folded and bound with a decorative blanket stitch.

Closeup showing the center seam and the blanket stitching along the edge

Fulling was accomplished in my shower, which has pebbles on the bottom, but was inspired by a waulking I participated in with Norman Kennedy at Marshfield School of Weaving last summer. At a waulking, a small amount of water saturates the cloth, which is bunched up lengthwise and passed along in a circle, each person squishing and pushing the fabric along. By myself in the shower, the motion was somewhat limited, but after over 45 minutes of pushing the cloth around with my feet, I had a nicely fulled cloth. I draped it on a clothes rack to dry, first in the shower and then outside.

Shrinkage was 17% in the weft but only 11% in the warp, which was surprising due to the relatively loose beat. The finished blanket size is 58″ x 87″. As of this writing, Plimouth Plantation has a delayed opening due to COVID-19 restrictions, but hopefully sometime this summer the blanket will be in use in one of the houses there! (In the mean time, Clara is enjoying it.)

A small black cat sitting on a big wool blanket. The blanket is off-white with 5 colored stripes on each end.
Clara enjoys the finished blanket